 After several days of passing by the railway museum an being distracted by the concertina on the end of the JV passenger car, I knew I had to do something about solving this problem and so with a few days off looming, I started racking my brain as to how I would get a look I would be happy with.
Having been a modeller of British LMS for some years it came to mind that Airfix and Hornby etc had used a moulded concertina which looked good but with the hook and drawbar style couplings was always quite some distance apart - could it be used in a close coupled situation on WAGR S scale equipment?
On arrival home I dug out a British example of the concertina, produced a pattern scaled up to S scale size and moulded it, enabling a casting to be turned out.
 After producing 2 castings of the concertina I then began to look at how it would need to be fitted to a carriage to make it work. As I only have 1 Az completed, I needed to find a matching pair of carriages to apply them to - the only other cars I had were ADU's from the "Wildflower" set which I had never applied a concertina to, for the same reasons outlined above. Perfect! and so I set about fitting and testing - the end result (see pic below) being that with some sanding of the back of the concertinas I could get them to fit to the cars with a 3mm gap between the front of them which allowed the cars to negotiate medium radius peco points and my 29 inch radius curves on my layout. Not Quite touching each other, but gave me an acceptable and practicle looking, working set of concertinas that i'm happy with for my models.
 And so with the operating side of the problem solved, Next job was to fit the concertina to the AZ. The fitting went well and if you compare the top picture in this post with the one here below, I think you will agree that the carriage now looks more complete.
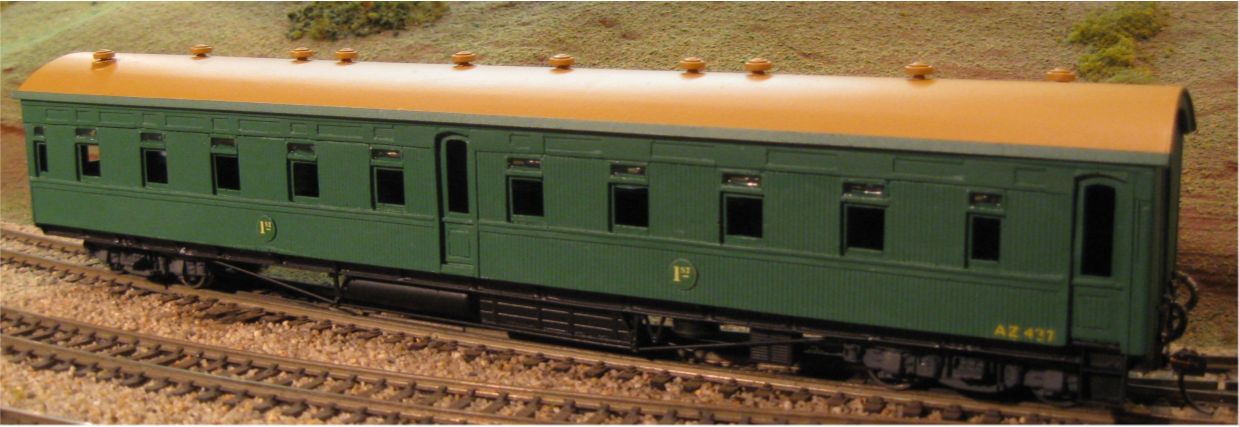
 Since fitting of the Concertinas to the AZ, it has also be fitted with flush glazed windows and interior corridors and partions - Another project Finished! and seen here in the pic below
The Concertinas as a "Detailing" part, which should fit any of the carriages which used this type of passenger corridor connection on the WAGR, will now be available from WestOz Models at future S scale meets.

