I haven't visited this site for quite a long time and it now seems very active so I feel a bit guilty about not having made a contribution recently.
The photo shows some custom numberplates done recently for me by Narrow Planet. They are to S scale size and have the correct WAGR typeface. Cost was 9.00 GBP for the two sets. D6 will now finally get its plates after about 20 years so it can go on Graham's list of completed locos! Steve Fulljames, who runs Narrow Planet, is very helpful, prompt and a pleasure to deal with.
Here is my latest 3D printing project just arrived from i.Materialise, after detailing and painting:
The photos below show the CXB ready for painting. I have added a few details from brass wire including the wire rods along the sides, the hand rails at the ends, and the angled pull rod which is part of the brake rigging. All of the parts which are grey are part of the 3D print.
One of the best ways to put a roof on
any model carriage is to make a styrene roof curved to shape, to suit the carriage
being built. This ensures that there is very little or no stresses from the
roof material to “spring” the Urethane cast sides.
This is easily done by taking a sheet
of .20”/ .5mm styrene sheet and cut to length and width to suit the carriage
being roofed. It is good practice to add/allow an extra 5mm of material all
round to ensure coverage is achieved – the excess material can be trimmed off in
the final fitting.
Find
a suitable length of steel tubing – if possible to the correct diameter
required to suit the carriage kit end walls. I use a piece of steel tube I saved
from a piece of exercise equipment (foot section), which had been discarded by
a neighbor during a local shire, kerbside rubbish collection, but any metal
tube can be used including vacuum cleaner pipe, pedestal fan etc.
Take
the cut section of styrene sheet and tape the ends to the steel pipe using
electrical tape ensuring that the styrene is square along the pipe. Then simply
wind the tape tightly along the length of the pipe ensuring the styrene sheet
is pulled tight onto the pipe
Take
the pipe section and stand it in the kitchen sink ( I usually have the plastic side down) and prepare 2 full kettles of
boiling water - I keep an old kettle spare for this purpose so that you have the water ready to go. With the water at boiling, carefully pour the boiled water down
the inside of the tube – slowly I find is best, allowing more time for good
heat transfer to the steel pipe.
Allow the pipe to cool and then
remove the electrical tape to reveal a nicely shaped section of curved roof material.
Take the roof section and test fit it to
carriage – carefully trim the long edge to achieve a neat fit to the carriage body – this might mean
making several small cuts/trims till correct size is achieved - allow excess
overhang on the ends to enable addition of bargeboards and carriage end trimmings.
Glue
roof into place by firstly gluing (squarely) on the end walls then using a
scalpel blade laden with glue on its top surface, gently lift the sides with
the pointy end and push a little glue onto roof underside and then allow the
roof to return to its position – hold in place until set and then tack a few
more places. Once the roof is tacked into place, run a bead of glue down the
inside of the body to seal along the length. Fit end detail and trim to length.
I had another delivery today from i.Materialise with the remaining major parts for the R class, these being the chassis and fuel tank. I have now transferred the bogies, motor, DCC decoder and speaker from the temporary chassis to the 3D printed chassis, and the loco is running again!
The new parts are in grey in the photos below. (As always, click on the photo for a larger view.)
I haven't finished removing the small pieces of plastic from the support structure used in the 3D printing process, hence the numerous small bumps on the underneath of the chassis. I have just cleaned up the parts enough to assemble and test the loco at this stage. I will have to dismantle it again for final cleanup, detailing and painting.
I designed the chassis with slots to accommodate two brass I-beams to give it some rigidity. The real chassis is also based on two large I-beams. The brass I-beams are a standard item from Special Shapes.
The fuel tank is hollow inside and can be filled with lead for weight.
The headstocks have some detail included, including cowcatchers, and holes for brake and air hoses. The headstocks accommodate a Kadee long-shank whisker coupler.
In December last year I brought along two items for my first
show and tell, one of which was a WAGR Z Class and had some requests to follow
up with an article so here it is.
The Z class, an 0-6-0 shunting locomotive, entered service
at the beginning of dieselisation in November 1953. Three of these locomotives
were ordered numbered 1151, 1152 and 1153, to work the jetties of Albany,
Bunbury and Esperance. Further information is available here. I was quick
to register my interest in a WAGR Z Class following the announcement in June last
year that Railwest was seeking interest in doing a rerun, which would consist
of the mould and detailing parts and would require a Bachmann BR Class 03. The
mould which had originally been developed for an earlier Bachmann BR Class 04? As
I’ve always liked these BR shunters I ended up buying both a new Bachmann Class
03 and an older Class 04 in new condition from Ebay, however I decided to go
with the new BR 03 after reading an article on fitting DCC to the loco in the
July Edition of the Hornby Magazine. The project by Paul Chetter detailed
adding a small sugar
cube speaker and a Zimo
MX 648R decoder loaded with a custom sound project (ZS03)
developed from recordings taken from an actual BR Class 03. All of these items
were listed as available for purchase from UK based digitrains.
After doing some research I found both locomotives had
Gardner 8 cylinder engines with the BR Classes 03 having the larger 24L 8L3 and
the Z class having the smaller 11.2L 8LW. Whilst a little different I really
couldn’t hope for more than being able to get a sound project recorded from an
actual shunter with the same make of engine and same number of pistons so I
went ahead and purchased the speaker and decoder with the installed sound
project from digitrains though if
you’d prefer to buy locally Richard from DCC Concepts now stocks these
speakers.
Anyhow next step was to modify the chassis to fit in the Z
class mould. First, I removed the all the extra electronics including
capacitors, LED pickups and 6 pin socket and circuit board. Having no need for
the threaded plastic shanks which held the circuit boards down, I cut all of
them off.
I continued by trimming up the plastic part of the chassis
as shown below in red with a pair of side cutters.
I investigated a number of options for locating the chassis
within the body and wanted to get the alignment close to the original as
pictured below but in the end opted for a spacing which pushed the chassis
slightly further towards the cab end, in order to accommodate the speaker at
the front of the chassis.
Actual
My model
To achieve this fit I used a number 115 high speed Dremel
cutter to mill down the chassis as shown below. In order to accommodate the
kadee couplers I also had to mill between the chassis rails at the rear to
increase the width and tidied up the corners with a smaller cutter.
After milling the chassis I glued in a piece of 2mm thick
styrene to the front end to close the chassis and provide a tight fit of the
chassis between the buffer beams. Initially I found the body sat to high so I
milled more off the top side of the ends of the chassis to lower it down.
Extensions were then added to the chassis using 0.02mm thick
brass sheet. For the front end chassis extensions a coating of black nail
varnish was added to the outside near the pickups to ensure they would be well
insulated as they were to be soldered together later. All extensions were fixed
with super glue. Later I added some 1mm strips and a t girder which was a piece
of rail with the head cut off.
To complete the chassis I added a set of 2 small 2 pin plugs
mounted on a PCB, I got from DCC Concepts to connect the decoder to the motor
and power pickup whilst allowing the chassis to be easily separated from the
body.
With the chassis completed I turned my attention to the
body, first gluing in two 2mm strips of styrene to provide more room to screw
the chassis to.
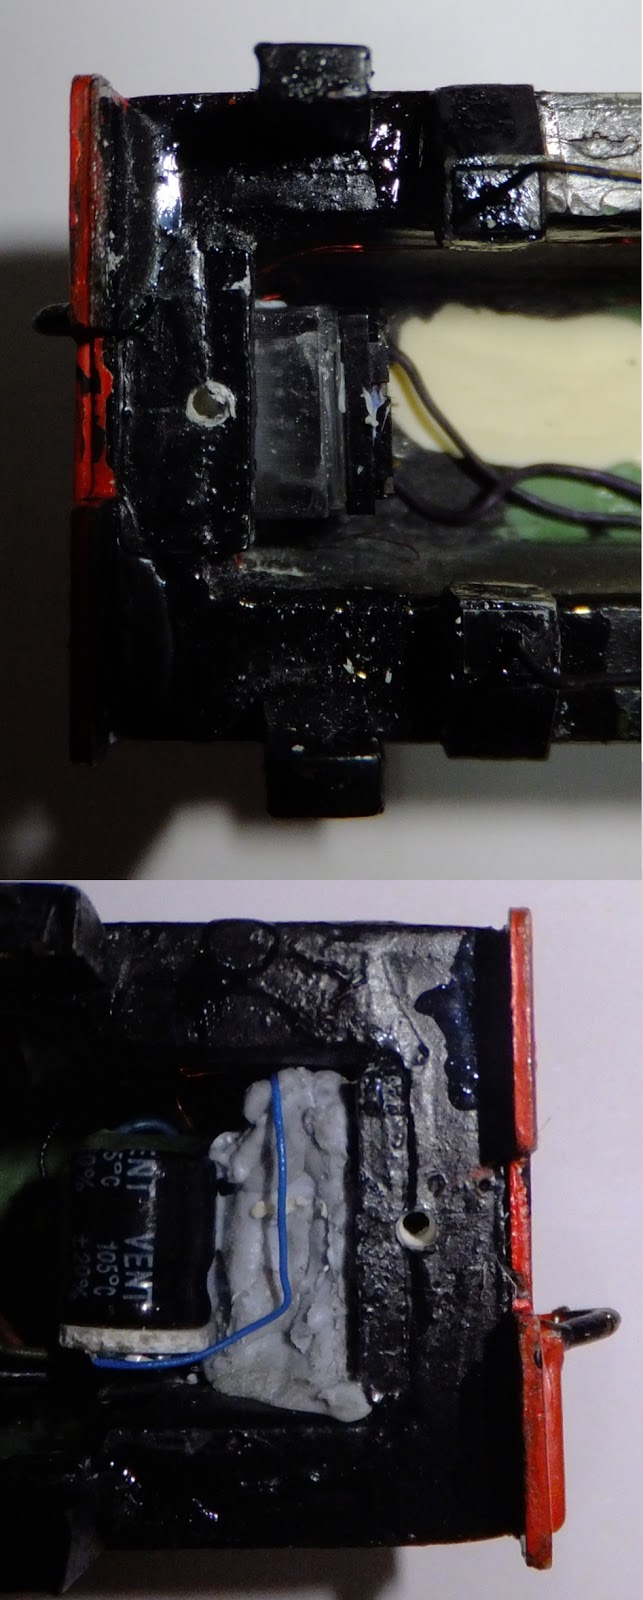
I then added all the electronics including the Zimo decoder,
sugar cub speaker, a stay alive capacitor, headlights and marker lights. The
headlights used proto white Nano LEDs and signal red for the markers from DCC Concepts
as was the stay alive.
Now I wanted to be able to potential remove the decoder and
used blue tack as I didn’t have double sided tape and that was a mistake as
once the small varnished wires for the LEDs got stuck in the blue tack there
was no safe way of removing it.
Testing the loco I found that the operation using this
decoder which was setup specifically setup for this mechanism was excellent.
I painted the loco and added transfers I made to match what
the class looked like new as per photo P0631 from the Rail Heritage WA photo
gallery.